Sunday, May 29, 2011

Crazy Quilt Book Cover

Crazy Quilted Book Cover
In the Embellishment Study Group class I'm taking with my friend our last assignment was to make a traditional crazy quilt block and to work with fiber etch. I decided not to try the fiber etch as it has chemicals in it that deteriorate the fabric and since I use my room to iron my work clothes I could just see me getting the tinest of drops on one of my favorite outfits so I thought it wiser not to work in that particular medium. 

Crazy Quilt Blocks

The crazy quilt block I really enjoyed making.  Whether it was choosing the fabric combination or deciding on the width of each piece or just piecing it - the entire process was really fun! From the start I knew I wanted to make a book cover with my block so I ended up making two coordinating blocks then sewing them together before I cut out the book cover. 

Crazy quilt bookcover opened to outside
For the handles I made sure I saved enough of one of the fabrics I was using so everything would coordinate. The book marker is made from gros grain ribbon and then embellished with a large button, an extra small yo-yo then topped with a smaller button. I like to put the large button behind the ribbon and then the yo-yo and smaller button on top of the ribbon, it just seems to balance things out.

Crazy quilt book cover opened and ready to read
Book covers make great gifts and I think I will make a couple more book covers to have on hand as I have a family who loves to read! Oh, I know I have at least one friend who would love to receive this as a gift too!!

Saturday, May 21, 2011

Pen Turning Class

Don's Pen


Deanna's First Pen
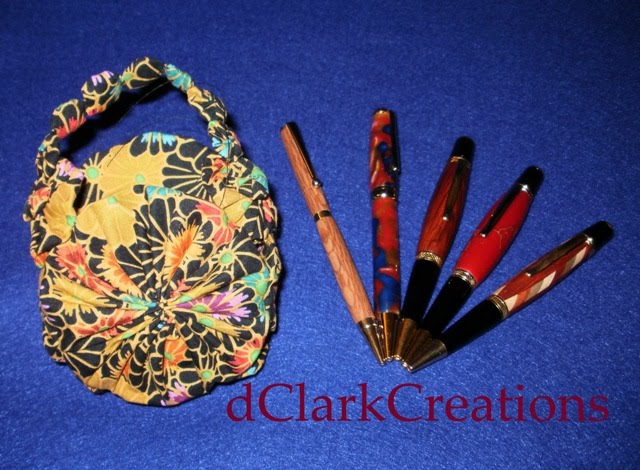
Last weekend Don and I took a pen turning class together. For me it was a new experience as I have always gravitated towards the soft crafts using fabric or paper. During the class I was a little at a loss with some of the terms that the men grasped right away. Our instructor was really good though and with his help and the help of my husband I was able to turn out my first pen. Even Don, who has been turning pens for a while now, picked up some new tips to make his pens even better. He even added the little "bump" or flare at the end of his pen.  Everyone in the class was given the same pen kit and we each  turned an American Slim Pen made out of cherry wood  and we all received a certificate of completion. Everyone got to use their new pen filling out a little survey which was passed out at the end of the day.  I would definitely like to try this craft again.  What's next?  Possibly a class to learn how to turn bowls on the lathe.

Sunday, May 15, 2011

Fabric Bird Named Spreckles

My Bird Spreckles
For me as I work with each project it seems to take on its own personality - that's how it was with Spreckles.  From the get- go Spreckles was just harder to work with than Puff. His legs gave me the most trouble and then what should have been easy (sewing on his eyes) became a major undertaking as they just didn't want to go on straight. Through each trial and error of getting Spreckles put together, we bonded. Although not quite as glamorous as Puff, he is still quite handsome.  Working with the bird pattern designed by Terry Grant I'm finding the hardest and most challenging part for me is bending the wire for the legs and inserting them into the bird properly.  In Terry's interview with Pokey from Quilting Arts magazine, Terry said the most important part for her was getting the beak to stay stuffed and firm.  I know I have lots more to learn when making birds so don't be surprised to see a whole flock show up one day!  After all that is part of this year's Challenge with my friend Connie.

Friday, May 6, 2011

Yo-Yo Vase of Ribbon Flowers

Mother's Day Card for My Mom
I'm still in my oval yo-yo phase trying to come up with different ways to use the shape.  While I was playing one day I noticed it looked very similiar to a vase.  That was the start of this card's design. Flowers always make a nice Mother's Day card so I made this one especially for my mom.  It is very hard to see that I did a running stitch around the top of the oval yo-yo and indented it a bit at the top to make it so I could bring the flower stems up through the vase. For the flower petals I used silk ribbon and  buttons for the center. I'm hoping to make a few more oval yo-yo vases adding a little more detail to them so that they stand out a bit better. I promise I will share my results.  Wishing all mother's out there a very happy Mother's Day!