Tuesday, May 25, 2010
Bearing Flowers Part II
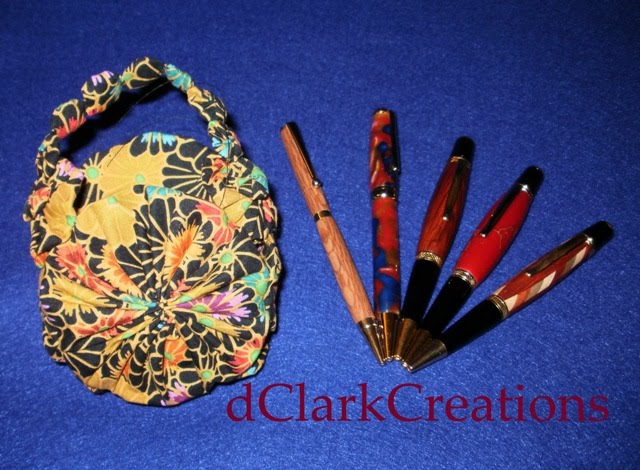
I'm so lucky to have a family who supports my creativity. My sister, Karen, sent me a close up of the basket I sent her at Christmas time and I thought I would post it on my blog so you could see it too.
Wednesday, May 19, 2010
Bearing Flowers
The other day I received an email from my sister, Karen, with an attached photo that showed a beautiful display of bowls and baskets. She did such a wonderful job of displaying everything I didn't recognize the fabric bowl I had given her as a Christmas gift. See if you can find it.
The last time I saw the fabric bowl it was filled with packets of hot chocolate, cookies and peppermint candy stirring sticks. The bowl now holds a nice display of flowers. What a transformation!
The last time I saw the fabric bowl it was filled with packets of hot chocolate, cookies and peppermint candy stirring sticks. The bowl now holds a nice display of flowers. What a transformation!
Sunday, May 9, 2010
Mother's Day Gift: Tea Dyed Note Keeper
Back in March, my friend Connie and I got together to dye some white fabric in 12 different types of tea to see what kind of results we would get. We used Bentley Tea and the flavors were Oriental Treasure green Tea, Raspberry Green Tea, Blueberry Green Tea, Pomegranate Green Tea, Misty Mint Green Tea, Earl Grey Green Tea, English Breakfast Tea, Lemon Honey Chamomile Tea, Gingerbread Spice Tea, Holiday Spice Tea and French Vanilla Tea.
I used my tea-dyed fabric to make the This and That note keeper from the Nifty Notes pattern by Sherri K. Falls for my mom. As you can see with this fabric there is not a lot of color variation. One of the reasons could be because we used the same brand for all 12 teas flavors. I also noticed that with the green teas there was not a lot of color differences either. The top section is dyed in the Oriental Treasure Green Tea, English Breakfast Tea was used for the middle section, the botton section was dyed in Gingerbread Spice Tea and the tab was dyed in Blueberry Green Tea. At least all the fabrics have fun sounding names even if there is not a lot of color difference.
Of course I had to make a note keeper for myself. The fabrics I used to make it you can see some shade variations. All in all our tea dying party was a lot of fun and I would definitely like to do it again but using more of the black teas. The This and That note keeper pattern is perfect for using small scraps of fabric and on the inside is an extra pocket perfect for adding a book of stamps or even a gift card!
Mother's Day Card
For Christmas I got a Cricut Expression. It is one of my favorite craft room accessories as it saves me so much time from hand cutting the pieces for my cards and the detail I can get from my Cricut still amazes me. As I was looking through my copy of the 2010 StampIt! Cards magazine I saw a layout I liked that used a flower and leaf shape that would work wonderful for making my mom's Mother's Day card. Next, I looked at my Cricut cartridges and found the shapes I needed. I used my computer and printed out my message. Then I played with the placement until I was happy with the layout, after adding a few embellishments I then glued everything in place.
Subscribe to:
Comments (Atom)


